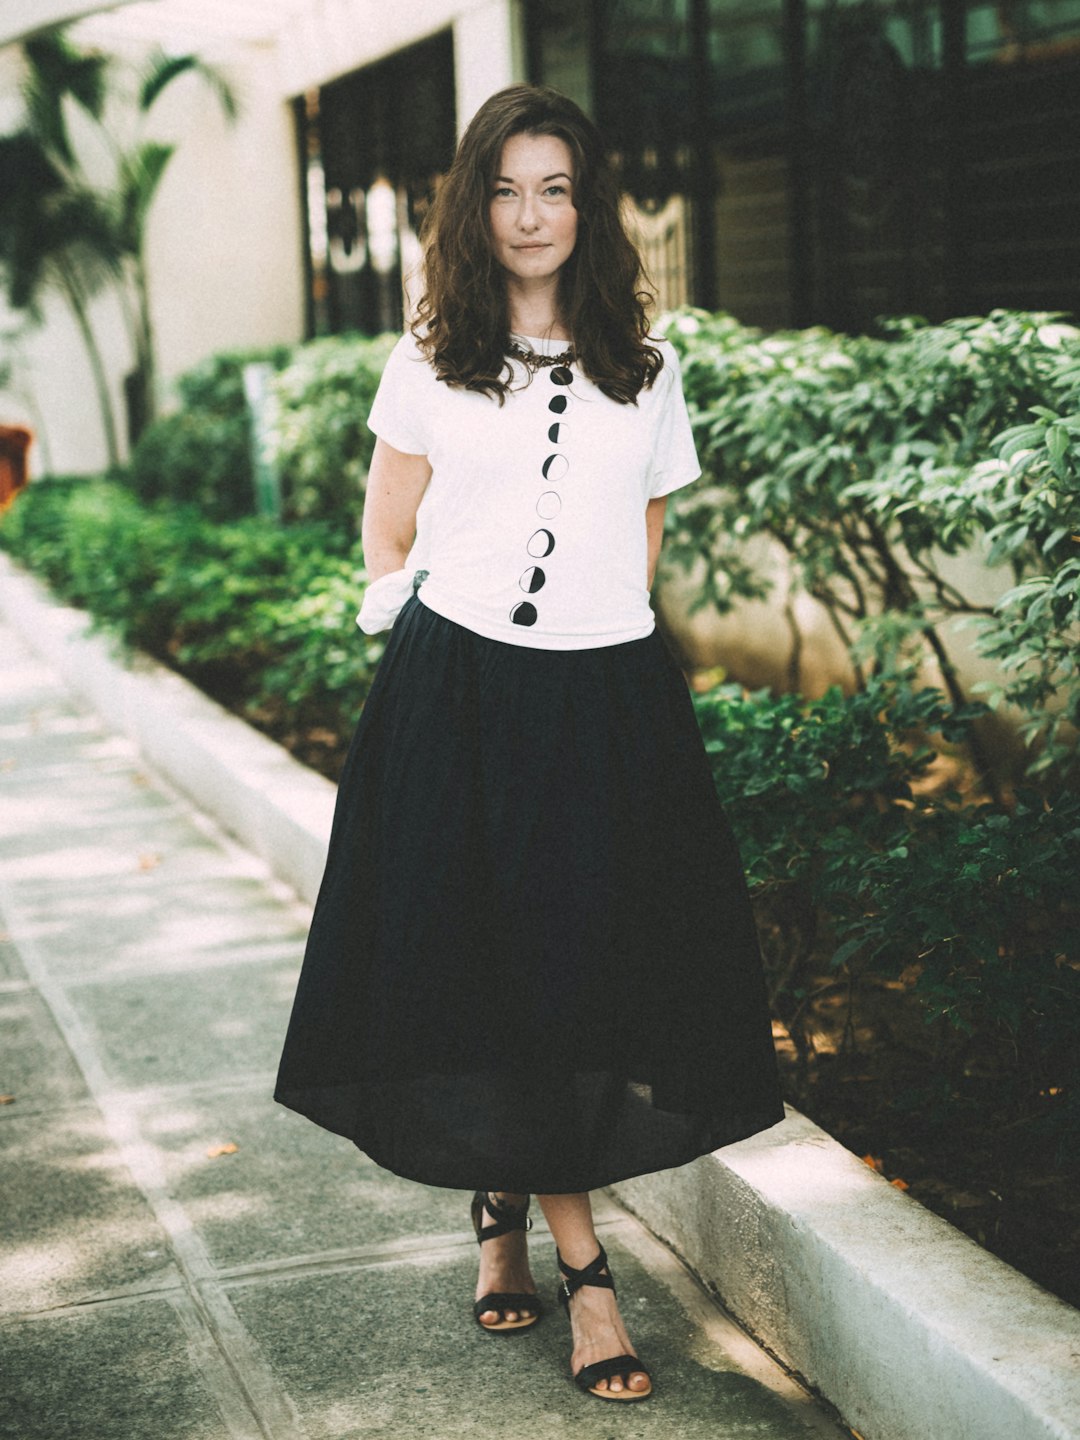
Makeup for Different Eye Shapes
Customize your eye makeup techniques to enhance your unique eye shape

Eyes are often called the windows to the soul, and they're typically the focal point of any makeup look. But applying eye makeup isn't a one-size-fits-all process. Each eye shape has unique characteristics that can be enhanced with specific application techniques.
In this comprehensive guide, we'll explore different eye shapes and provide tailored makeup techniques for each. By understanding your unique eye shape and how to work with it, you can create flattering looks that make your eyes pop.
Identifying Your Eye Shape
Before diving into specific techniques, it's important to correctly identify your eye shape. Look at your eyes in a mirror with your face relaxed and gaze straight ahead.
Key characteristics to observe:
- Visible lid space: How much of your eyelid is visible when your eyes are open?
- Crease definition: Is your crease clearly defined, partially hidden, or not visible at all?
- Eye tilt: Do the outer corners of your eyes tilt upward, downward, or remain level with the inner corners?
- Eye width: Are your eyes set close together or wide apart?
- Eye roundness: Are your eyes more round or elongated in shape?
Remember that many people have combination eye shapes that incorporate elements from multiple categories. The techniques below can be mixed and matched based on your unique features.
Almond Eyes
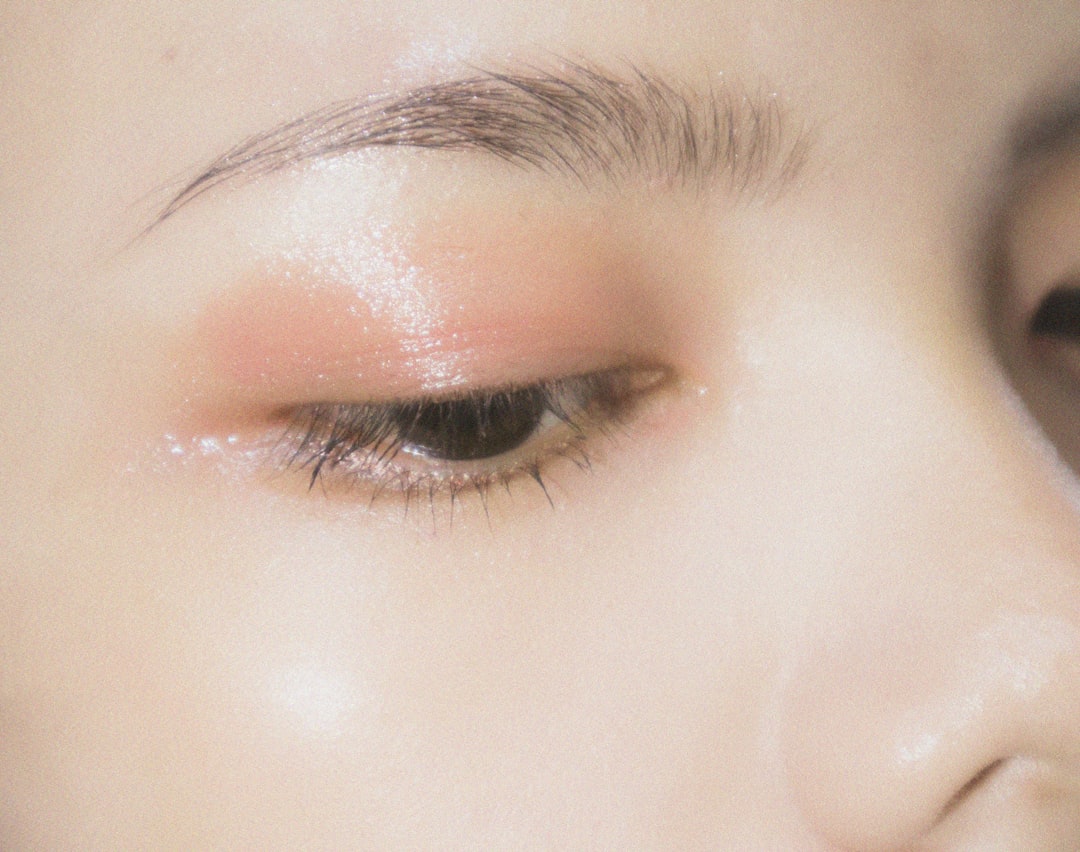
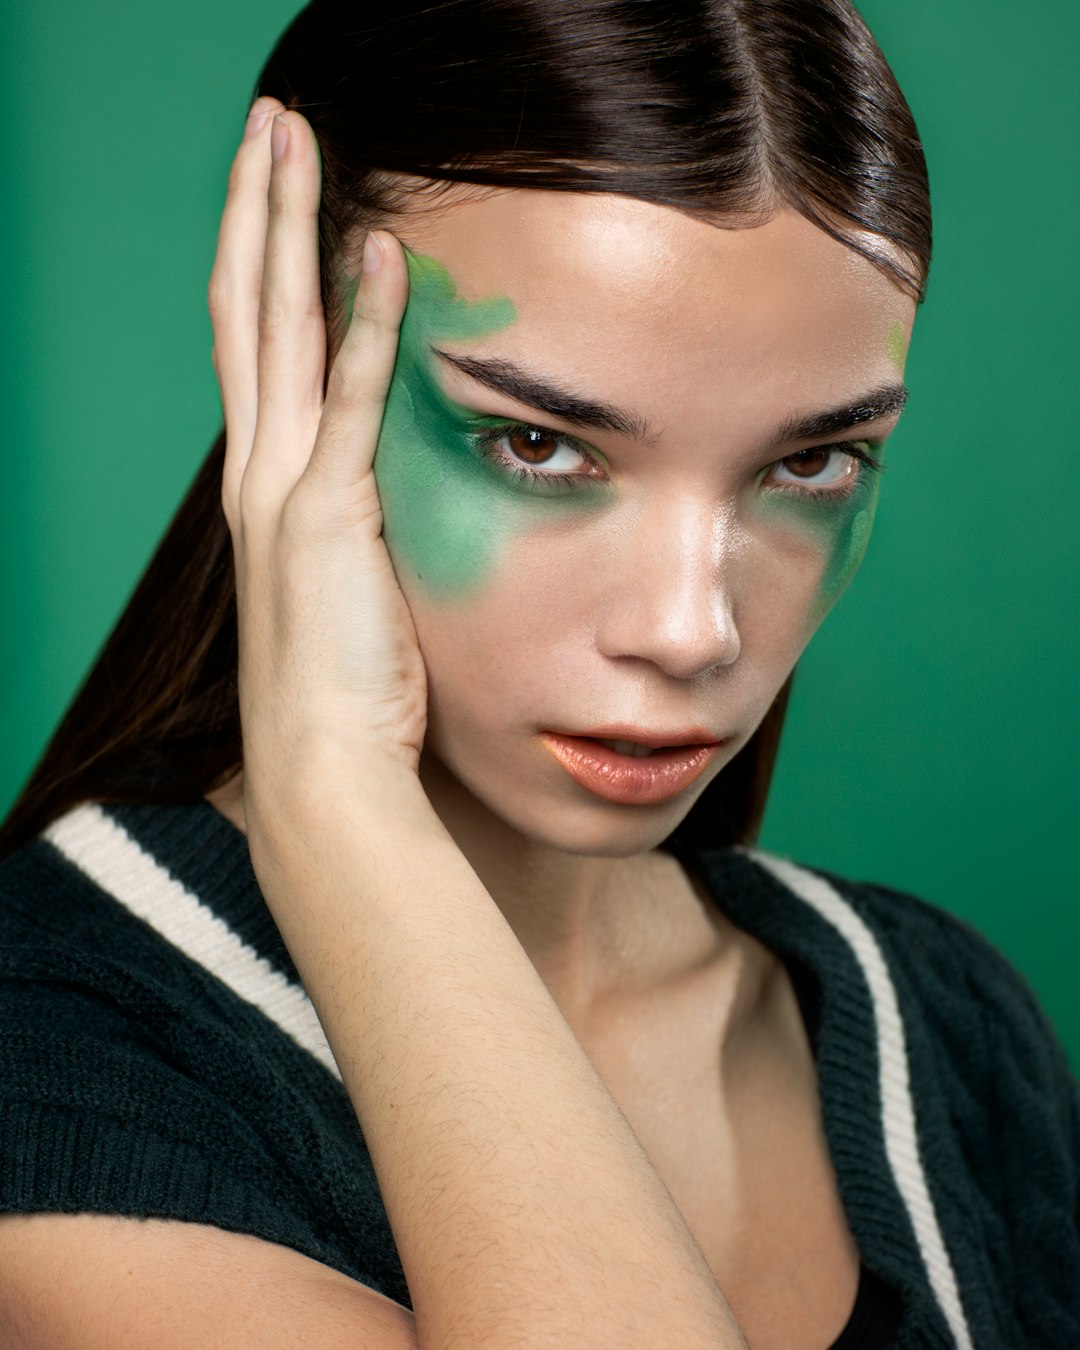
Almond eyes are considered the "standard" eye shape in makeup tutorials. They're characterized by a visible crease, a slightly uplifted outer corner, and an iris that's partially covered by the upper and lower lids when looking straight ahead.
Almond eyes have a visible crease and slight upward tilt at the outer corners
Makeup Techniques for Almond Eyes
Almond eyes are versatile and can carry off most eyeshadow techniques beautifully. To enhance their natural shape:
- Eyeshadow Placement: Apply medium tones across the lid and darker shades in the outer corner in a "V" shape to enhance the natural contour.
- Eyeliner: A classic winged liner follows the natural upward tilt of almond eyes. Keep the line thin at the inner corner and gradually thicken it as you move outward.
- Mascara: Focus on both upper and lower lashes to frame the eye shape.
Pro Tip
For a quick enhancement of almond eyes, use a medium matte shade in the crease and blend outward and upward, following the natural eye shape.
Hooded Eyes
Hooded eyes have excess skin folding down from the brow bone that covers part or all of the mobile eyelid when the eyes are open. This can make the crease appear hidden and limit visible lid space.
Hooded eyes have a fold of skin that partially or completely covers the mobile lid
Makeup Techniques for Hooded Eyes
The key with hooded eyes is creating the illusion of more lid space and preventing transfer of product onto the hood:
- Eyeshadow Placement: Apply with your eyes open to ensure you're placing color where it will be visible. Create a "faux crease" by applying darker shadow slightly above your natural crease.
- Eyeliner: Thin liner is crucial, as thick lines can disappear when the eyes are open. Consider "tightlining" (applying liner to the upper waterline) to define eyes without taking up lid space.
- Smudge-Proof Products: Use primers and long-wearing, waterproof formulations to prevent transfer.
- Highlight: Apply a light, matte shade just under the brow bone and at the inner corner to create the illusion of more space.
Hooded Eyes Hack
Keep your eyes open while applying your crease color. This ensures you're placing the shadow where it will actually be visible when your eyes are open, rather than hidden beneath the hood.
Monolid Eyes
Monolid eyes have little to no visible crease when the eyes are open. The eyelid appears as a single, continuous space from the lash line to the brow.
Monolid eyes have little to no visible crease
Makeup Techniques for Monolid Eyes
Monolid eyes provide a beautiful canvas for creative gradient effects and defined liner looks:
- Gradient Technique: Create a color gradient from lash line to brow, with the darkest color at the lash line gradually fading to a lighter shade as you move up.
- Eyeliner: Thick winged liner works beautifully on monolids as it creates definition and remains visible when the eyes are open. Consider a "floating liner" technique, where the line is drawn slightly above the lash line so it's fully visible.
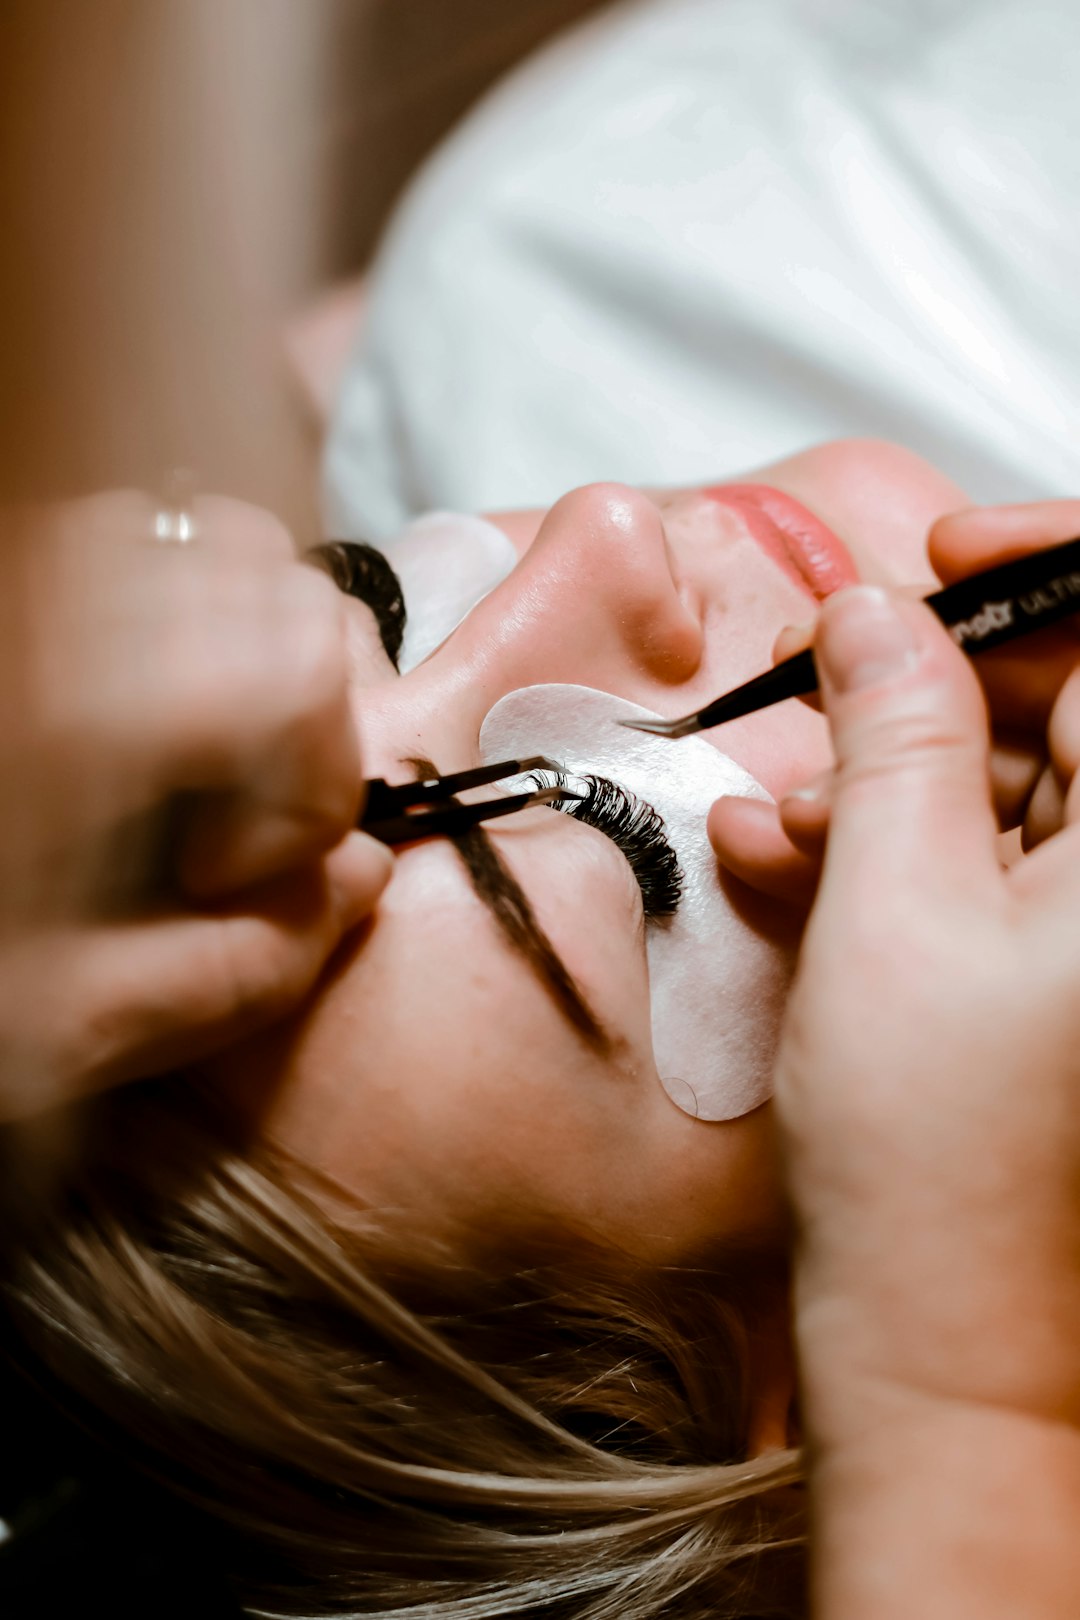
- Mascara: Curl lashes thoroughly before applying mascara to open up the eye area. Consider individual false lashes at the outer corners for special occasions.
- Inner Corner Highlight: A bright highlight at the inner corner creates dimension and makes eyes appear more awake.
Monolid Magic
Try the "halo" eyeshadow technique, with darker shades on the inner and outer thirds of the lid and a bright pop of color or shimmer in the center. This creates beautiful dimension on monolids.
Round Eyes
Round eyes appear circular in shape, with the whites of the eyes visible all around the iris when looking straight ahead. They typically have a very open, wide-awake appearance.
Round eyes have a circular shape with visible whites all around the iris
Makeup Techniques for Round Eyes
Round eyes are naturally striking. Makeup can be used to enhance their openness or to create a more elongated appearance:
- Elongating Techniques: Create the illusion of length by applying darker shadows on the outer third of the eye and extending them outward in a wing shape.
- Eyeliner: Focus liner on the outer two-thirds of the eye and extend it outward. Avoid heavy liner on the lower lash line, which can make eyes appear even rounder.
- Contouring: Apply a medium matte shade in the crease and blend upward and outward toward the temple to create an elongated effect.
- Mascara: Concentrate mascara on the outer lashes to enhance the elongated effect.
Downturned Eyes
Downturned eyes have an outer corner that tilts slightly downward. The lower lash line appears to curve downward at the outer edge.
Downturned eyes have outer corners that tilt slightly downward
Makeup Techniques for Downturned Eyes
The goal with downturned eyes is to create a lifted appearance at the outer corners:
- Eyeshadow Placement: Focus darker shades on the outer corner, blending upward and outward at a 45-degree angle toward the end of your eyebrow.
- Winged Liner: Create a lifted wing that angles upward to counteract the downward tilt. Start the wing from the middle of the lid rather than the outer corner.
- Highlight: Place a highlighting shade at the center of the lid and inner corner to draw the eye upward.
- Lower Lash Line: Keep the lower lash line clean or apply color only to the outer third, blending upward to connect with the top lid.
Uplifting Technique
For downturned eyes, use a small piece of tape as a guide for your eyeshadow and liner, angled from the outer corner of the eye toward the end of the eyebrow. This creates a perfectly lifted effect.
Deep-Set Eyes
Deep-set eyes appear recessed under the brow bone, creating a pronounced crease and sometimes casting shadows on the eyelid.
Deep-set eyes appear recessed under a prominent brow bone
Makeup Techniques for Deep-Set Eyes
The goal with deep-set eyes is to bring them forward and minimize shadows:
- Light Lid Colors: Use light to medium shades on the lid to bring it forward. Avoid very dark colors all over the lid, which can make eyes recede further.
- Crease Definition: Since deep-set eyes already have a defined crease, use lighter hand when applying crease color.
- Highlight: Apply a light, shimmery shade to the center of the lid and inner corner to bring the eye forward.
- Eyeliner: Keep liner thin along the lash line. Consider using a nude or white liner on the waterline to open up the eyes.
- Under-Eye Brightness: Use a brightening concealer under the eyes to minimize shadows.
Protruding Eyes
Protruding eyes appear to bulge or project outward from the eye socket. They typically have a lot of visible lid space and may show a full arc of the iris.
Protruding eyes project forward with significant visible lid space
Makeup Techniques for Protruding Eyes
For protruding eyes, the goal is to create depth and minimize the projecting appearance:
- Matte Shadows: Use matte shadows rather than shimmers, which can make the eyes appear more prominent.
- Darker Lid Colors: Apply medium to dark shades across the lid to create the illusion of depth.
- Eyeliner: Define both the upper and lower lash lines to create a frame around the eye.
- Blend Thoroughly: Ensure all shadow edges are well-blended to avoid creating stark lines that emphasize the projection.
- Focus on Lashes: Full, curled lashes help balance the appearance of protruding eyes.
Close-Set Eyes
Close-set eyes are positioned with less than one eye-width of space between them. The inner corners appear closer to the bridge of the nose.
Makeup Techniques for Close-Set Eyes
For close-set eyes, the goal is to create the illusion of more space between the eyes:
- Inner Corner Highlight: Apply a light, brightening shade to the inner corners to create the illusion of more space.
- Shadow Placement: Focus darker shades on the outer third of the eyes, creating a gradient effect that draws attention outward.
- Eyeliner: Start liner from the middle of the eye rather than the inner corner, and wing it outward.
- Brow Shaping: Avoid bringing brows too close to the bridge of the nose; maintain some space between them.
Wide-Set Eyes
Wide-set eyes have more than one eye-width of space between them. The distance from the inner corner to the bridge of the nose appears larger than average.
Makeup Techniques for Wide-Set Eyes
For wide-set eyes, the goal is to create the illusion that the eyes are closer together:
- Inner Eye Emphasis: Apply darker shades to the inner corners of the eyes to visually bring them closer together.
- Eyeliner: Extend liner slightly toward the inner corners of the eyes and keep the outer wing minimal.
- Nose Contouring: Subtle contouring along the sides of the nose bridge can help create the illusion of less space between the eyes.
- Brow Shaping: Extend the inner portions of the brows slightly closer to the bridge of the nose.
Universal Eye Makeup Tips
Regardless of your eye shape, these universal techniques can enhance your eye makeup application:
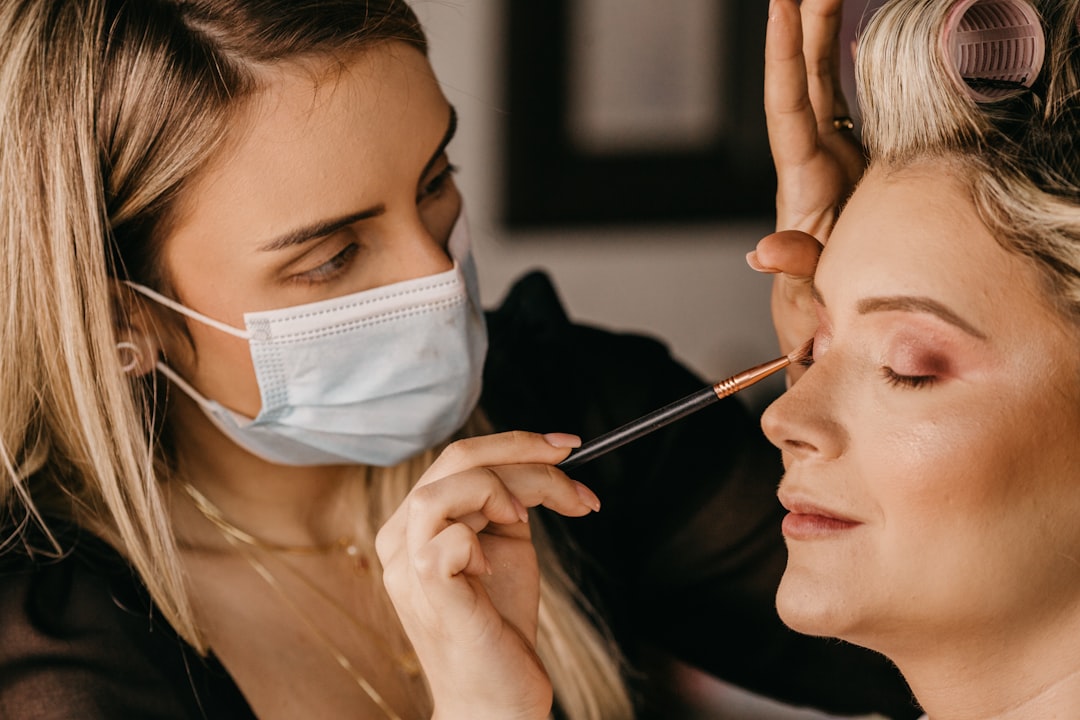
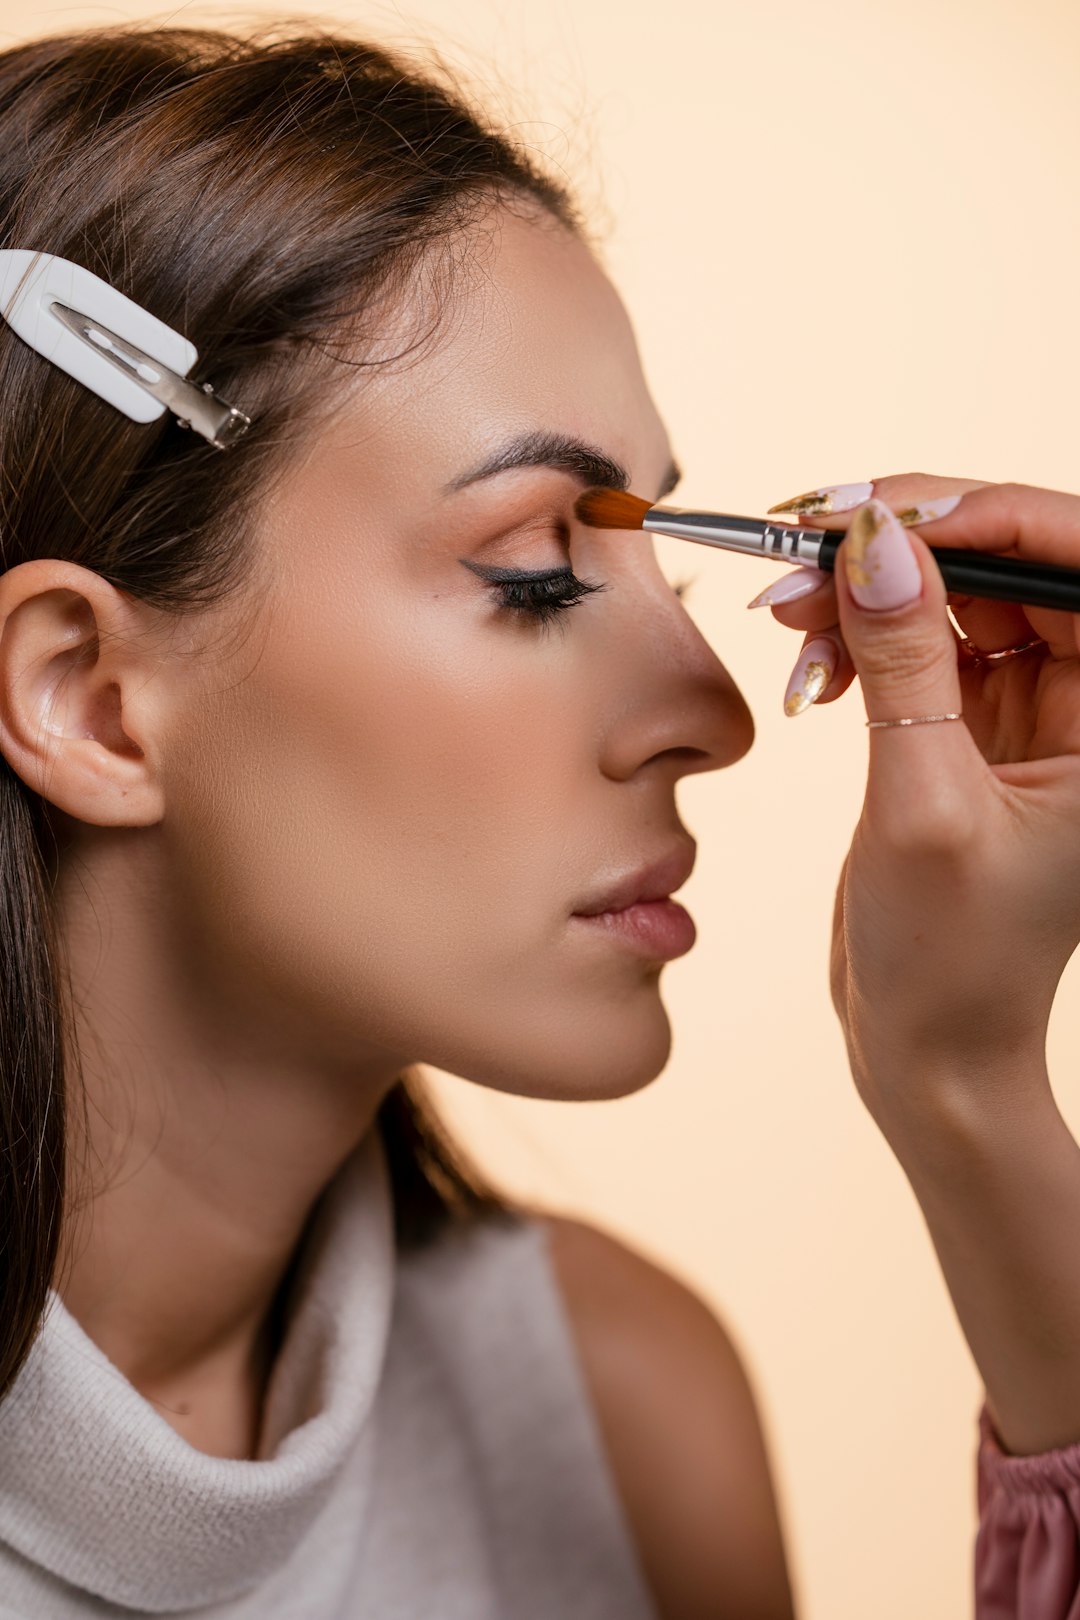
1. Start with an Eye Primer
Eye primer creates a smooth base for eyeshadow application, prevents creasing, and enhances color payoff. Apply a small amount from lash line to brow bone and allow it to set before applying eyeshadow.
2. Use Proper Brushes
The right tools make a significant difference in eyeshadow application:
- A flat shader brush for applying color to the lid
- A fluffy blending brush for diffusing color in the crease
- A small, precise brush for detail work
- An angled brush for liner application
3. Build Intensity Gradually
It's easier to add more color than to remove excess. Start with a light application and build up intensity as needed.
4. Consider Your Eye Color
Complementary colors can make your eye color pop:
- Blue eyes: Warm tones like copper, bronze, and terracotta
- Green eyes: Purple, mauve, and rich plum shades
- Brown eyes: Blues, purples, and greens for contrast
- Hazel eyes: Greens and purples to enhance their multidimensional color
5. Balance with Other Features
Consider your overall makeup look. If you're creating a dramatic eye, balance it with more subtle lip color, and vice versa.
Makeup Artist Secret
For any eye shape, applying a small amount of highlighter to the center of the lid creates a "spotlight" effect that makes eyes appear larger and more dimensional.
Adapting Trends for Your Eye Shape
When a new eye makeup trend emerges, you don't have to follow it exactly as shown. Instead, adapt it to complement your unique eye shape:
Graphic Liner
- Hooded eyes: Create the graphic element above the crease where it will be visible
- Monolid eyes: Extend the graphic element outward where it won't disappear when eyes are open
- Downturned eyes: Angle graphic elements upward to create a lifting effect
Cut Crease
- Deep-set eyes: Use a lighter hand with the crease color since the crease is already defined
- Hooded eyes: Create the cut crease above your natural crease so it's visible when eyes are open
- Round eyes: Extend the outer edge of the cut crease outward to elongate the eye
Smoky Eye
- Protruding eyes: Embrace the classic smoky eye, as darker shades help create depth
- Close-set eyes: Focus the darkest shades on the outer corners only
- Almond eyes: Follow the natural eye shape for a classic smoky effect
Final Thoughts
Understanding your unique eye shape allows you to apply makeup techniques that enhance your natural beauty. While these guidelines provide a starting point, don't be afraid to experiment and adapt techniques based on what looks best on you.
Remember that makeup should be fun and expressive. Rules are meant to be broken, and sometimes the most striking looks come from trying something unexpected. The most important aspect is that you feel confident and beautiful in your makeup.
What eye shape do you have, and what makeup techniques have you found work best? Share your experiences and questions in the comments below!

About the Author
Sophia Reynolds is the founder and lead visagiste at WideHorizon. With over 15 years of industry experience working with diverse clients, she specializes in customized makeup techniques that enhance each person's unique features.

Comments (8)
Nina H.
March 8, 2024I've been struggling with my hooded eyes for years! The tip about applying eyeshadow with my eyes open is a game-changer. I also love the suggestion to create a faux crease above my natural one. Finally, my eyeshadow is actually visible when I blink! Thank you so much for these detailed techniques.
Mei L.
March 7, 2024As someone with monolids, I appreciate that you included specific techniques for my eye shape. The gradient technique has become my go-to for everyday looks. Would love to see a future post specifically focused on monolid makeup with step-by-step photos!
Sophia Reynolds
March 7, 2024Thank you for the suggestion, Mei! We're actually planning a detailed series on each eye shape, and monolids will definitely be featured with step-by-step tutorials. Stay tuned for that in the coming months!
Aisha J.
March 6, 2024I have deep-set eyes and always wondered why dark smoky looks made my eyes disappear! The tip about using lighter shades on the lid makes so much sense. I tried it today with a champagne shimmer on the lid and medium brown in the crease, and my eyes look so much more open and awake. This article is a keeper!
Leave a Comment