Professional Makeup Techniques
Elevate your makeup skills with expert methods used by professional visagistes
What separates amateur makeup application from professional results? Often, it's not the products themselves but the techniques used to apply them. Professional visagistes develop specialized methods through years of experience that create flawless, long-lasting, and dimensional makeup looks.
In this article, we're pulling back the curtain on some of the most effective professional makeup techniques that can elevate your skills and transform your results. While mastering these methods takes practice, understanding the principles behind them is the first step toward makeup mastery.
Foundation Layering for Flawless Skin
The hallmark of professional makeup is skin that looks like skin—only better. The secret? Strategic layering that provides coverage where needed while maintaining a natural finish everywhere else.
The Professional Approach to Base
Rather than applying a thick layer of foundation all over the face, professionals use what's often called the "layer and erase" technique:
- Prep: Start with well-moisturized skin and a primer targeted to your skin type.
- Thin Initial Layer: Apply a sheer layer of foundation all over the face, using a damp sponge or a foundation brush.
- Strategic Coverage: Instead of immediately adding more foundation everywhere, use a small amount of concealer only on areas that need additional coverage (blemishes, redness, dark circles).
- Blend Boundaries: Use a clean, damp beauty sponge to tap over any areas where concealer meets foundation to eliminate visible edges.
- Set Selectively: Apply setting powder only to areas that tend to get oily or where makeup needs to last longest, leaving the high points of the face with a natural finish.
Pro Tip
Apply foundation from the center of the face outward, where most people need the most coverage. By the time you reach the perimeter of your face, your brush or sponge will have less product, creating a more natural gradient.
The Makeup Artist's Color Correction Secrets
Before applying foundation, professionals often use color correctors strategically to neutralize discoloration:
- Peach/Orange: Neutralizes blue-toned dark circles, especially effective on medium to deep skin tones
- Yellow: Counters purple or blue tones (bruises, veins, or dark circles on fair skin)
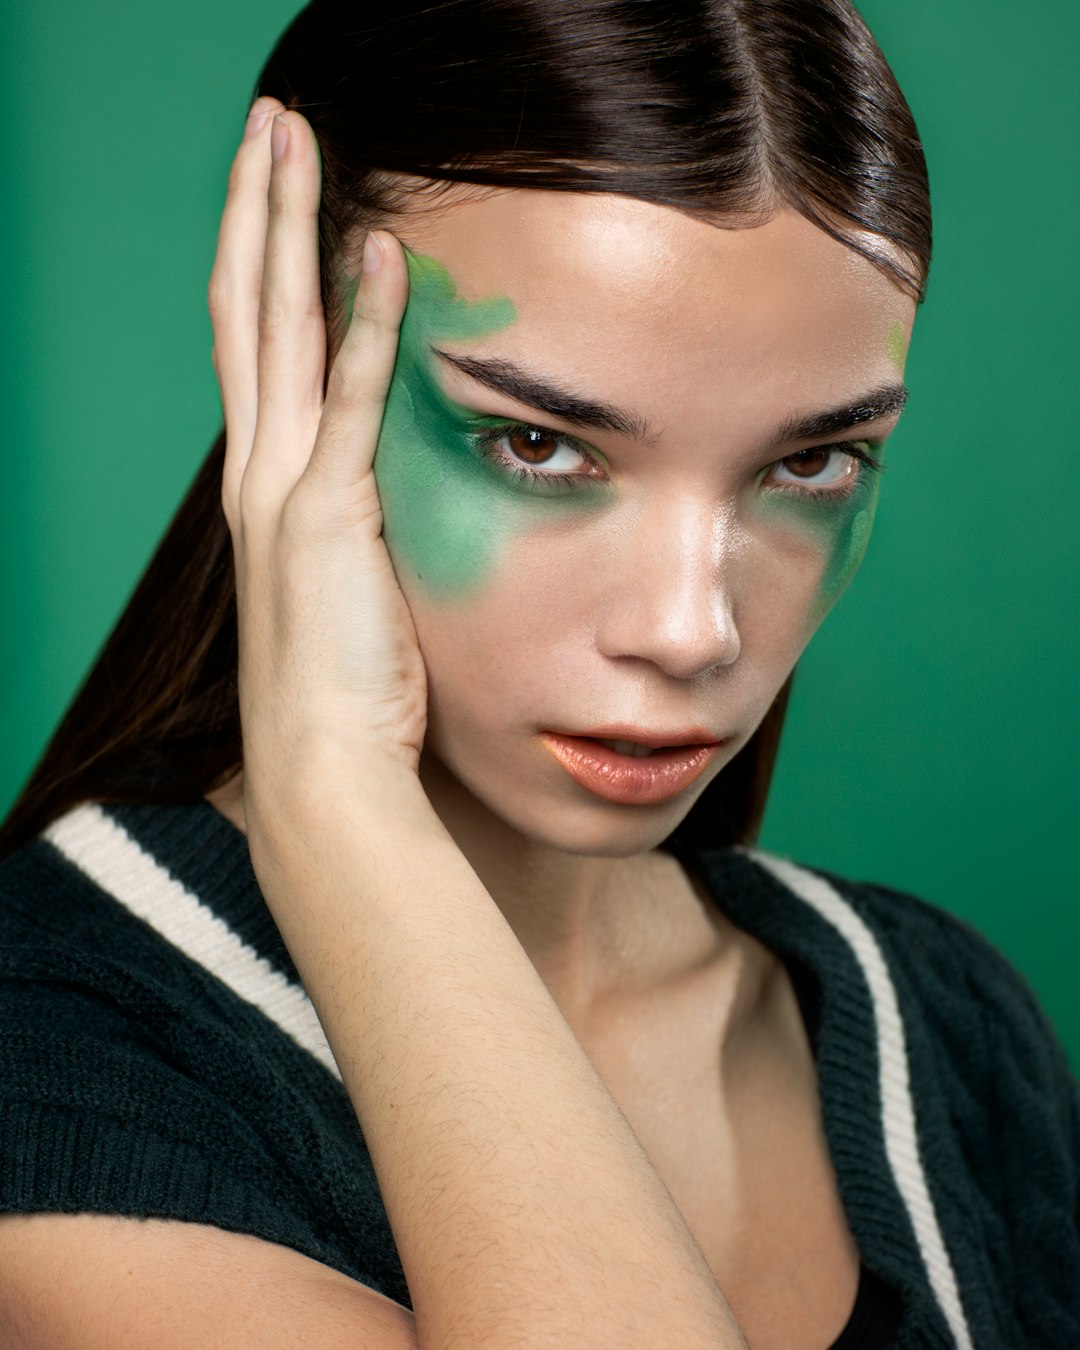
- Green: Neutralizes redness from rosacea, acne, or broken capillaries
- Lavender: Brightens sallow or yellow-toned areas
The key is to use color correctors sparingly and only where needed. Apply a thin layer, pat (don't rub) to blend, and then proceed with foundation.

Strategic color correction applied before foundation creates a more flawless base
Advanced Blending Techniques
Blending is perhaps the most crucial skill in a makeup artist's repertoire. Professional-level blending creates seamless transitions between colors and products.
The Windshield Wiper Method
For eyeshadow blending, professionals use a back-and-forth motion similar to windshield wipers:
- Apply your darkest or most intense shade precisely where you want it (outer corner, crease, etc.)
- Using a clean, fluffy blending brush, place it directly above where the eyeshadow ends
- With light pressure, move the brush back and forth in small motions
- Gradually work your way upward, using increasingly lighter pressure
This creates a gradient effect where the color is most intense at the application point and gradually fades.
The Stippling Technique
For cream products like foundation, blush, or contour, professional makeup artists often use a stippling or patting motion rather than swiping:
- Apply the product in small dots or stripes where needed
- Using a stippling brush, beauty sponge, or your fingertips, gently pat the product into the skin
- Continue patting until the edges are completely blended
This technique pushes the product into the skin rather than moving it around on top, creating a more natural, skin-like finish that lasts longer.
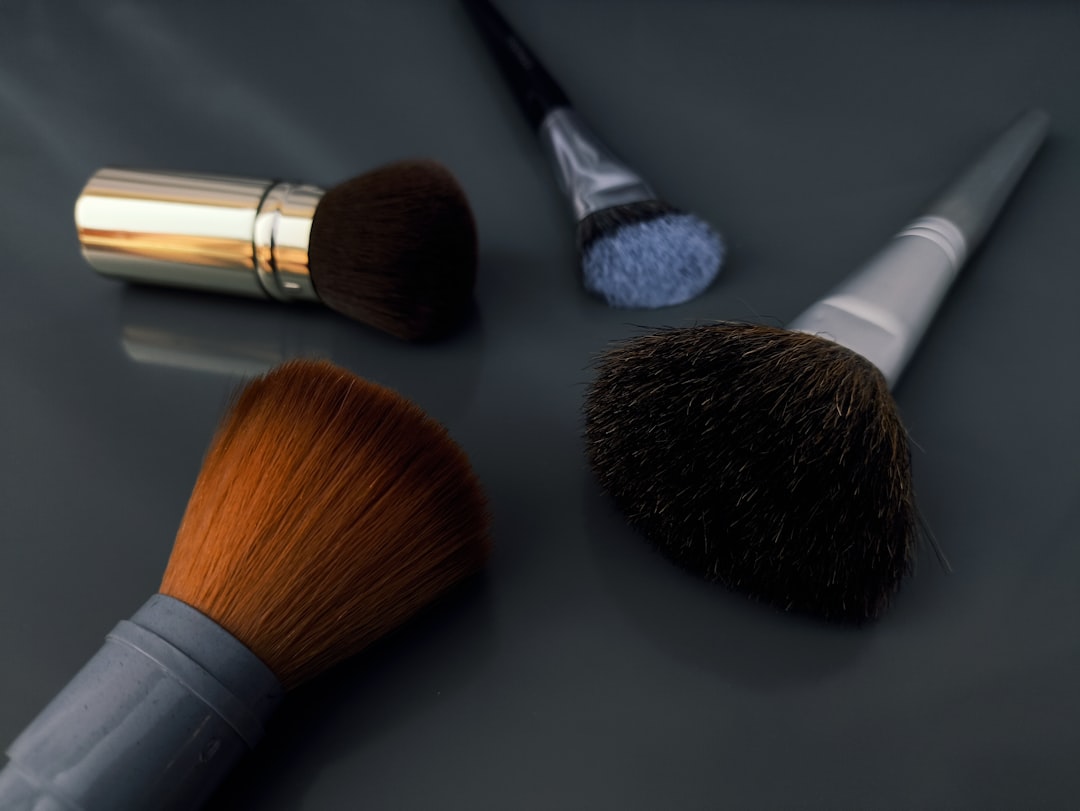
Tool Selection Matters
The right tool dramatically affects your blending results. For eyeshadow, use a fluffy brush for diffusing edges and a denser brush for applying color. For complexion products, synthetic brushes work best with creams and liquids, while natural bristles excel with powders.
Contouring and Highlighting: The Professional Approach
While social media has popularized dramatic contouring, professional makeup artists typically take a more subtle approach focused on enhancing natural bone structure.
Anatomical Contouring
Rather than following a one-size-fits-all template, professionals analyze facial structure and contour accordingly:
- Observe in Natural Light: Examine the face in good lighting to identify where shadows naturally fall
- Enhance Existing Structure: Apply contour products slightly above existing shadows to enhance rather than create features
- Choose Appropriate Products: Use gray-brown tones (avoiding orange or red undertones) for the most natural shadow effect
- Layer Gradually: Build intensity slowly, as it's easier to add more than to remove excess

Professional contouring enhances natural bone structure rather than creating dramatic new features
Multi-Dimensional Highlighting
Professional highlighting goes beyond a stripe of shimmer on the cheekbones:
- Strategic Placement: Apply highlighter to areas that naturally catch light when you move (tops of cheekbones, brow bone, cupid's bow, inner corner of eyes)
- Layered Textures: Start with a subtle liquid or cream highlighter, then add powder highlighter only at the highest points for dimension
- Finish Selection: Choose different highlight finishes for different areas—subtle satin for larger areas like cheekbones, more intense shimmer for precise points like inner corners
The Final Check
After applying contour and highlight, professionals do a "movement test" by turning the head from side to side in natural light. The dimension should appear natural and enhance features as the face moves.
Professional Eye Techniques
The eyes are often the focal point of a makeup look, and professionals have developed numerous techniques to enhance and define them.
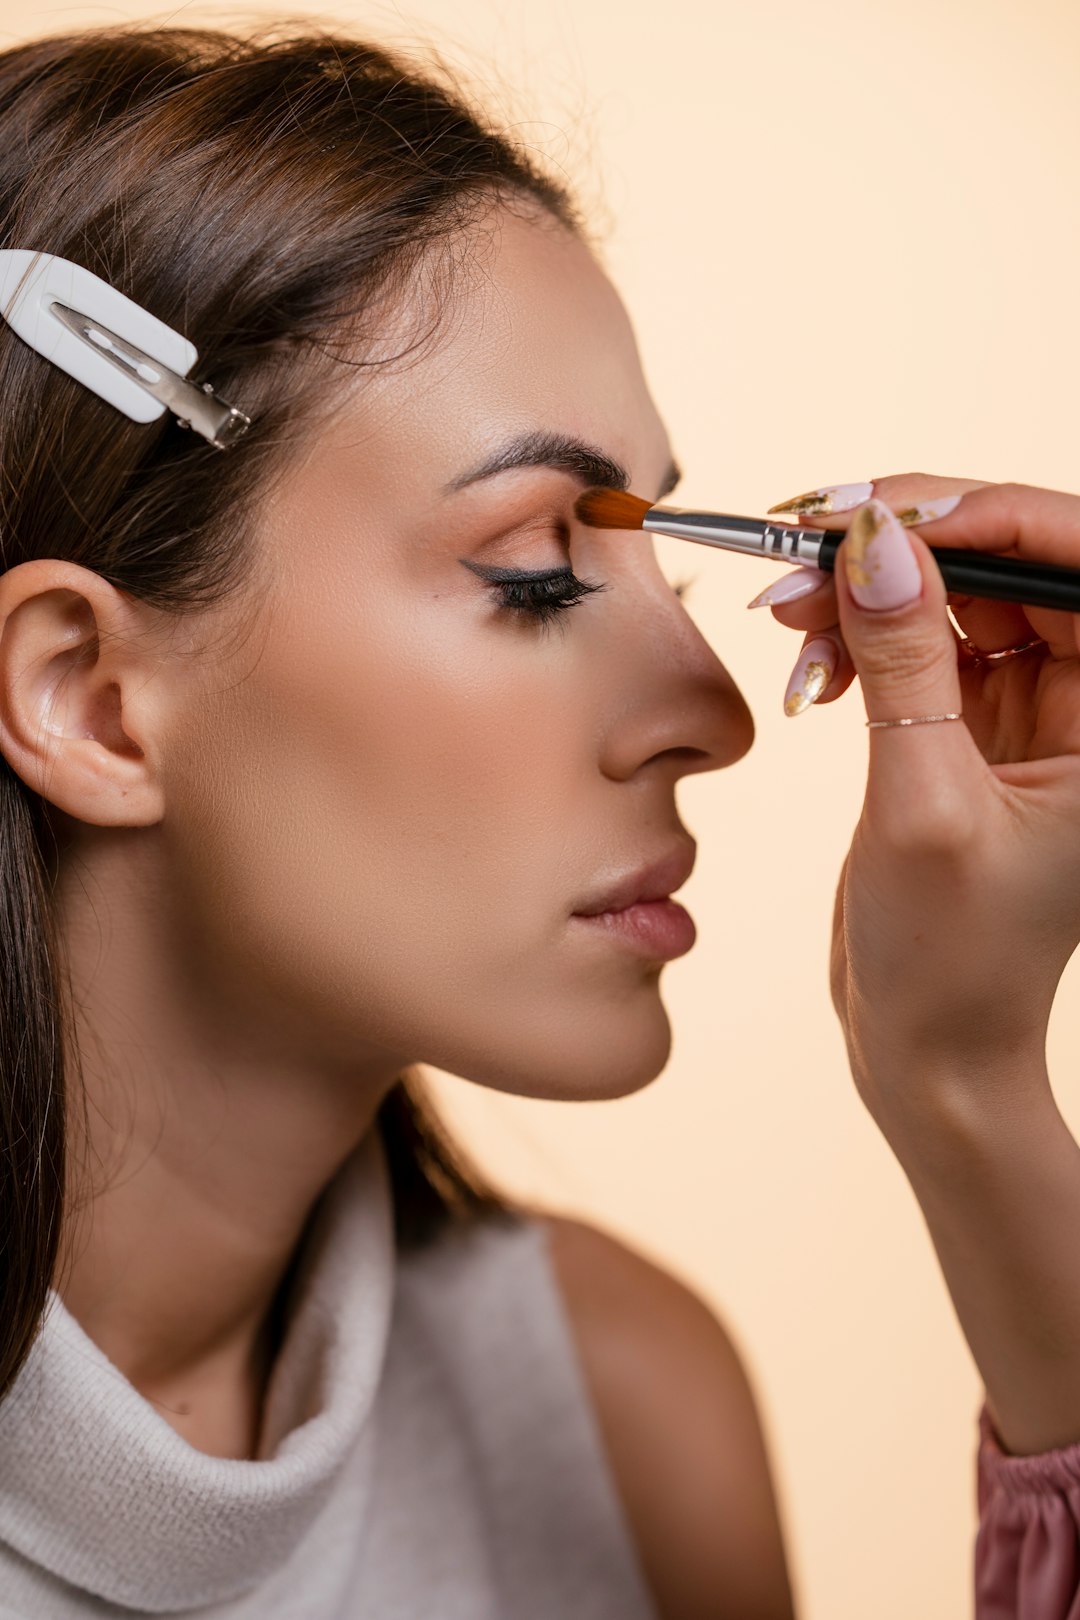
Dimensional Eyeshadow Application
Rather than simply applying a lighter shade on the lid and darker shade in the crease, professionals create dimension through strategic layering:
- Prime: Apply an eyeshadow primer or a thin layer of concealer set with translucent powder
- Transitional Base: Apply a neutral shade slightly darker than your skin tone through the crease and slightly above it
- Deepen Structure: Apply deeper tones in the outer corner and along the lash line, building intensity gradually
- Create Contrast: Add a lighter shade to the center of the lid, inner corner, and brow bone
- Layer Textures: Combine mattes, satins, and shimmers strategically—typically mattes for structure and shimmers for highlight points
The Sandwich Method for Eyeliner
For eyeliner that lasts all day without transferring or smudging:
- Apply a thin line of gel or pencil liner as close to the lash line as possible
- Set it immediately with a matching eyeshadow using a small, flat angled brush
- For extra definition, add a thin line of liquid liner directly on top
This "sandwich" of products creates a liner that resists smudging, fading, and transferring.
The Tightlining Technique
To create the appearance of fuller lashes without visible liner:
- Gently lift the upper eyelid with your finger
- Using a waterproof gel or pencil liner, apply color directly to the upper waterline (the area under your lashes)
- Work in small sections, getting as close to the lash roots as possible
This fills the tiny spaces between lashes, creating the illusion of thicker lashes and a more defined eye without a visible line above the lashes.
The Finishing Touch
After applying mascara, professionals often use a clean spoolie brush to separate any clumped lashes, then go back with a small detailing brush to add tiny dots of black shadow between any visible gaps at the lash line.
Creating Long-Lasting Lip Color
Professional makeup artists have developed techniques to create lip colors that last through eating, drinking, and talking without constant touch-ups.
The Layering Method
- Prep: Exfoliate lips and apply a thin layer of lip balm, blotting away excess
- Define: Line the entire lip with a pencil that matches your lipstick or your natural lip color
- First Layer: Apply lipstick with a brush for precision
- Blot and Powder: Gently blot with a tissue, then lightly dust with translucent powder
- Second Layer: Apply a second coat of lipstick
- Optional Seal: For maximum longevity, add a matching lip stain before the first lipstick layer
The Ombré Lip Technique
This technique not only creates the illusion of fuller lips but also ensures color lasts longer as it fades:
- Line lips with a pencil slightly darker than your chosen lipstick
- Fill in the outer third of the lips with the same pencil
- Apply lipstick to the center of the lips
- Blend where the two colors meet for a seamless gradient
- Add a touch of highlighter or a lighter shade to the very center of the bottom lip

The ombré lip technique creates dimension and longevity
Setting Techniques for All-Day Wear
The final steps in a professional makeup application focus on ensuring longevity without compromising the finish.
Selective Powdering
Rather than applying powder all over, which can create a flat, lifeless finish:
- Focus powder application on the T-zone and areas that tend to get oily
- Use a smaller brush for precise application rather than a large powder brush
- Press and roll the powder into the skin rather than swiping
- Leave the high points of the face (top of cheekbones, bridge of nose) less powdered for natural dimension
The Setting Spray Sandwich
For maximum longevity in challenging conditions:
- Apply a mattifying or gripping primer
- After foundation but before powder, mist lightly with setting spray and allow to dry
- Apply powder products (blush, bronzer, highlight)
- Finish with another layer of setting spray
This "sandwiching" technique locks makeup in place by creating multiple sealed layers.
Professional Secret
For extremely long-wearing makeup (such as for weddings or performances), professionals sometimes use a technique called "baking" on areas prone to creasing or fading. Apply a generous amount of translucent powder, allow it to sit for 5-10 minutes while your body heat helps it melt into the skin, then brush away the excess.
Final Thoughts
While these professional techniques might seem time-consuming at first, with practice, they become second nature. The key is to understand the principles behind each method and adapt them to your unique features and preferences.
Remember that professional makeup artistry is as much about knowing when to stop as it is about application techniques. Often, the difference between amateur and professional results is restraint—knowing exactly how much product to use and where to place it for maximum impact.
As with any skill, mastery comes through practice. Try incorporating one new technique at a time into your routine until you feel comfortable, then move on to the next. Before long, you'll notice a significant improvement in the finish and longevity of your makeup.
Which professional makeup technique are you most excited to try? Share your experiences or questions in the comments below!

About the Author
Sophia Reynolds is the founder and lead visagiste at WideHorizon. With over 15 years of industry experience working with celebrities and major fashion brands, she specializes in editorial makeup and creating bold, artistic looks.

Comments (7)
Lisa M.
April 12, 2024I've been doing my makeup the same way for years and always wondered why it didn't look as polished as professional work. The layering technique for foundation has completely changed my approach! My skin looks so much more natural now. Thank you for sharing these secrets!
Ryan T.
April 11, 2024As someone who does makeup for photography, I can confirm that the sandwich method for eyeliner is a game-changer for long photoshoots. No more touch-ups between shots! I'd add that using a waterproof formula as your base layer adds even more staying power.
Sophia Reynolds
April 11, 2024Great point about the waterproof formula, Ryan! For photo shoots, I sometimes even add a drop of waterproof mixing medium to my gel liner for extreme durability. Thanks for sharing your professional experience!
Amina K.
April 10, 2024I've been struggling with my eyeshadow looking muddy no matter what I do. Going to try the windshield wiper technique tonight! Do you recommend building up color intensity gradually or starting with the deepest shade first?
Sophia Reynolds
April 10, 2024Hi Amina! For most looks, I recommend starting with a lighter transition shade in the crease, then adding the deeper shade exactly where you want the most intensity. The key to avoiding muddiness is to place the darkest shade precisely first, then blend only its edges, rather than blending it all over. Let me know how it works for you!
Leave a Comment